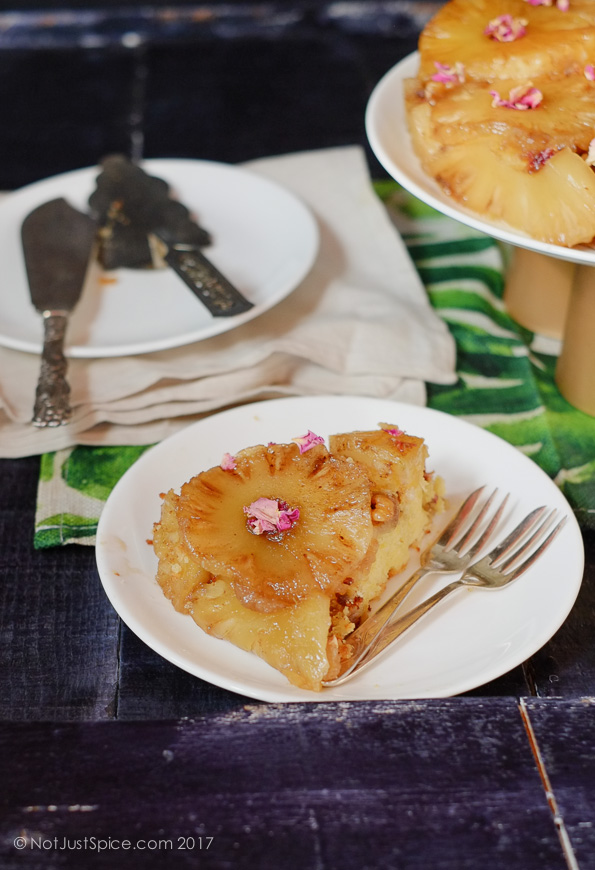
The pineapple upside down cake is warm and comforting, addictive, and disappears fast. The bright and sunny top is caramelly, crunchy a great way to eat pineapples. This pretty pattern gives way to a creamy and buttery crumb base — made moist by the yolks and butter. Together, it is cake nirvana.
Ingredients
Instructions
- 1Preheat the oven to 175ºC (350ºF). If you have a cast iron skillet that measures 10 inches at the bottom and 11 inches on top, use that, Otherwise a 10-inch x 2-inch or a 9-inch x 2-inch cake pan will do. The cake pan I used was 9 inches in diametre.
- 2Place the pineapple slices and cherries on paper towels to absorb the extra moisture after you drain them.
- 3If you are using a skillet, melt the butter over medium heat, and stir in the sugar till it is moistened. If you are using a cake pan, then melt the butter in a saucepan over medium heat, and stir in the sugar till it’s moistened. Pour this into a prepared cake tin (parchment on the bottom and flour dusted over butter on the sides).
- 4Place 1 pineapple ring in the middle and 7 surrounding it. Cut the remaining 6 into half and place them against the side of the pan with the two cut edges of each slice facing down, touching the brown sugar. Place 8 cherries in the middle of the 8 pineapple rings. Halve the remaining cherries and place them in the centre of the half slices. I used rose petals instead after I read how maraschino cherries were made. As for the walnut or pecans, tuck them into any gaps between the pineapple slices.
- 5Now, the cake batter. Combine the yolks, vanilla and about 1/4 of the sour cream lightly.
- 6Combine the dry ingredients in a mixing bowl — blend for 30 seconds.
- 7Add the remaining sour cream and the butter and beat together for about 2 minutes. Scrape down the sides.
- 8Add the egg mixture to this mixture in 3 batches, and beat to blend for 20 seconds after each addition.
- 9Add it all into the fruit and nut lined skillet or cake pan, and smoothen the top with a spatula.
- 10Bake for 40-50 minutes or until a skewer inserted in the middle comes out clean or until golden brown. When you press the cake down slightly in the middle, it must spring back.
- 11After you take it out from the oven, run a metal spatula or blunt knife around the sides of the skillet and invert it onto a serving plate. Leave the skillet on the serving plate as is for 1 or 2 minutes before lifting it. If you find any cake stuck to the bottom of the skillet, simply ease it out with a small spoon and place it on the cake. If you have used a cake pan, simply peel of the parchment paper.
- 12Serving: Serve warm or at room temperature.
Notes
Since one can directly heat the butter and sugar on the cast iron skillet on the stove and it helps caramelize the sugar while baking, a cast iron skillet is preferred. If you are using a springfoam pan, then wrap the side with aluminium foil to prevent leakage. When you start heating the oven, place an aluminium sheet in the oven. Place the springfoam pan on the aluminium sheet when ready. I had a smaller skillet and therefore used a cake pan. The cake will last for 3 days in the fridge and 1 day at room temperature.